
Inspection of Structures: What to Check Before You Buy

An inspection of structures examines a property's load-bearing elements, including foundations, walls, beams, roof framing, and floor systems, to identify defects before you commit to a purchase. Most inspections follow a two-stage process, moving from a visual walkaround to targeted testing where problems are suspected. Research from a 2024 survey by Porch shows that 86% of buyers who commissioned an inspection found at least one problem.
Structural defects are rarely obvious at first glance. They develop slowly, often behind finishes or below ground level, and by the time visible symptoms appear, the underlying damage can be extensive. A systematic inspection carried out before exchange gives you the information you need to negotiate, withdraw, or proceed with confidence.
What Is an Inspection of Structures and How Does It Differ from a General Home Inspection?
A structural inspection focuses specifically on the elements that carry load and hold a building together: foundations, framing members, load-bearing walls, beams, floor joists, and roof structure. It does not typically cover cosmetic finishes, appliances, plumbing fixtures, or electrical systems in detail. Those fall within the scope of a general building and pest inspection.
A general home inspection is broader but shallower. An inspector working to a standard pre-purchase brief will note visible defects across all systems, but they are not required to assess whether a wall is load-bearing, whether a footing has moved, or whether a beam has adequate bearing. That level of analysis requires structural expertise and, in some cases, engineering input.
The two-phase framework clarifies what you are actually commissioning. Phase 1 is a visual inspection: a qualified inspector walks the property, documents observable conditions, and identifies areas of concern. No surfaces are opened, no materials removed. Phase 2 is targeted investigation, sometimes called destructive testing, where specific areas are opened to confirm what Phase 1 found. This might involve lifting floor coverings, opening wall cavities, or probing timber members for concealed rot or termite damage.
Most pre-purchase inspections are Phase 1 only. Phase 2 is commissioned when Phase 1 identifies a defect that cannot be fully assessed without access. Sellers are not always willing to permit destructive testing before exchange, which is why understanding what Phase 1 can and cannot tell you matters.
A structural inspection is not a substitute for a final inspection before settlement, which checks the property's condition immediately before you take ownership. Both serve different purposes at different points in the transaction.
How to Inspect the Exterior: Foundations, Walls, and Roof
The exterior inspection follows a two-pass sequence: a broad assessment of the site and its drainage, then a close examination of the building's structural fabric. Work through these in order.
Assess the lot slope and surface drainage. Walk the perimeter and note whether the ground falls away from the building or toward it. Water pooling against a foundation is a primary driver of footing movement, rising damp, and subfloor deterioration. Look for evidence of previous ponding: dead grass patches, soil subsidence near the walls, or efflorescence on masonry at ground level.
Examine the foundation and substructure. Look at the base of the walls where they meet the ground. Cracking in masonry footings, separation between the slab edge and the wall above, or visible gaps at corners can indicate differential settlement. Stepped cracking in brick veneer, running diagonally from corners of openings, is a common indicator of footing movement rather than shrinkage.
Inspect external walls and cladding. Check for bowing, bulging, or out-of-plumb sections. In brick construction, look for horizontal cracking through mortar joints, which can indicate lateral pressure or wall tie failure. In clad timber-framed buildings, look for cladding that has separated from the substrate, or areas where moisture has caused the framing behind to deform.
Check roof components from ground level. Use binoculars if necessary. Look for sagging ridgelines, uneven roof planes, or areas where the roof surface appears to have dropped between rafters. These are signs of rafter failure, ridge beam deflection, or inadequate bracing. Data from the Inspection Support Network indicates that roofing problems appear on 19.7% of inspection reports, making them the most frequently recorded defect.
Examine eaves, fascias, and gutters. Rotted fascia boards and blocked gutters are not merely cosmetic. They direct water back against the wall framing and into the roof space, accelerating structural decay that may not be visible until significant damage has occurred.
For buyers considering a pre-purchase building inspection as part of their due diligence, the exterior walkaround is where the most telling evidence often sits.
How to Inspect the Interior: Beams, Joists, and Load-Bearing Walls
Begin the interior inspection at the lowest accessible level. If the property has a subfloor, start there. If it is a slab-on-ground construction, begin at the ground floor and work upward.
Start at the lowest level. In a subfloor space, use a torch and probe to assess the condition of stumps, bearers, and floor joists. Look for timber that has darkened, softened, or shows signs of fungal growth. Check whether stumps are plumb and whether bearers are bearing evenly across them. Uneven bearing creates point loads that cause floor deflection and, over time, cracking in walls above.
Verify the condition of structural supports. Examine beams, floor joists, and rafters for sagging, splitting, or deflection [S3]. A floor that feels springy underfoot, or one that visibly dips in the centre of a span, is telling you that the framing below is either undersized, damaged, or both. In older homes, check for notching or drilling through joists that has been carried out without regard for structural integrity.
Assess load-bearing walls. Identify which walls are likely to be structural, typically those running perpendicular to the floor joists, those that sit above a beam or post, or those that carry roof loads. Look for cracking at the top corners of door and window openings in these walls. Diagonal cracking from the corners of openings is the classic indicator of differential movement in the structure above.
Check ceilings for deflection and staining. A ceiling that sags between joists, or one with water staining in a pattern that follows the framing above, points to either structural deflection or a moisture source that has been present long enough to affect the framing. According to Houzeo's home inspection report data, safety hazards such as mould are concealed in approximately 1 in 15 homes, and many of these originate from undetected water ingress at the structural level.
Inspect the roof space. Access the roof cavity and look along the ridge beam and rafters with a torch. Check for sagging, split timbers, inadequate connections at the ridge, and evidence of water entry. Look at the underside of the roof cladding for rust staining, daylight gaps, or areas where sarking has failed and moisture has reached the framing.
What Are the Biggest Red Flags in a Structural Inspection?
Some defects are cosmetic. Others indicate that a building's structural integrity is compromised. Knowing the difference determines whether you negotiate a price adjustment or walk away entirely.
The following warning signs warrant immediate professional assessment:
Horizontal cracking in masonry walls. Vertical and diagonal cracks can result from shrinkage or minor movement. Horizontal cracking through mortar joints is more serious. It often indicates lateral soil pressure against a retaining wall or basement wall, or failure of the wall ties that connect brick veneer to the frame behind it. This is not a cosmetic issue.
Stepped cracking at corners and openings. Diagonal cracking that steps through mortar joints from the corners of windows or doors typically signals differential footing movement. The pattern tells you which part of the foundation has moved relative to the rest.
Sagging or deflecting floors. A floor that dips noticeably or feels soft underfoot points to damaged or undersized floor framing.
Water staining at structural junctions. Staining at the base of walls, around roof penetrations, or along ceiling lines where they meet external walls indicates sustained moisture exposure. By the time staining is visible on a finished surface, the framing behind it has usually been wet for some time.
Sagging rooflines or uneven roof planes. A ridgeline that dips, or a roof surface that appears to have dropped between rafters, points to rafter failure, ridge beam deflection, or loss of bracing.
Evidence of previous underpinning or repair. Patched cracking, freshly rendered sections of external wall, or new concrete poured against an existing footing can indicate that a known problem has been concealed rather than properly rectified.
Research from Houzeo indicates that identifying major flaws through a pre-purchase inspection can save buyers an average of $14,000 in repair costs. That figure reflects the cost of repairs, not the cost of buying a property with undisclosed structural defects and finding out after settlement.
If you identify signs of structural defects in a property you are considering, Signs of Structural Defects in New Homes: What to Look For provides a more detailed breakdown of defect patterns by building type.
The Role of a Structural Engineer vs. a Building Inspector
A building inspector and a structural engineer are not interchangeable. Commissioning the wrong one for the problem in front of you will leave you with an incomplete picture.
A licensed building inspector is trained to identify defects across the full range of building systems. They work to a defined scope, typically aligned with Australian Standard AS 4349.1 for pre-purchase inspections, and produce a report documenting observable conditions. They can identify that a beam is deflecting, that a wall appears to be out of plumb, or that cracking is consistent with footing movement. What they cannot do is calculate whether the structure is still safe to occupy, determine the cause of movement with engineering certainty, or specify the scope of structural rectification works.
A structural engineer carries the qualifications to do exactly that. Where a building inspector flags a concern, a structural engineer can investigate its cause, assess its severity, and produce calculations or drawings that support a rectification scope. In many defect matters, both are needed: the inspector identifies the defect, and the engineer quantifies it.
For buyers in NSW, this distinction matters when a defect report is intended for use in formal proceedings. Reports prepared for NCAT or the NSW District Court must meet the requirements of expert evidence. A building inspection report prepared to the pre-purchase inspection standard is not the same as an Expert Witness Report prepared under the Uniform Civil Procedure Rules. Knowing which document you need before you commission it avoids wasted time and cost.
If you are uncertain about the role a building consultant plays in this process, What Is a Building Consultant? Roles in Inspections and Defects explains the distinctions clearly. When a defect is confirmed, a building defect report documents its nature, location, and severity in a form that supports negotiation or formal proceedings.
Structural Inspection Requirements in Australia: NSW, Perth, and Melbourne
Australia does not have a single national standard that mandates pre-purchase structural inspections. Requirements and conventions vary by state, and buyers need to understand what applies in their location.
Inspection of structures in NSW is most commonly carried out under AS 4349.1, the Australian Standard for pre-purchase inspections of buildings. The standard sets out what an inspector must assess and how findings must be reported. In NSW, inspectors must hold a contractor licence or a building consultant's licence issued by NSW Fair Trading. For matters that proceed to NCAT or the courts, reports must also comply with the expert evidence requirements under the Uniform Civil Procedure Rules 2005.
Structural inspection in Perth falls under Western Australian licensing requirements administered by the Building and Energy division of the Department of Mines, Industry Regulation and Safety. Inspectors must hold a current building inspector registration. WA has its own licensing and regulatory structure, and buyers should confirm their inspector's registration before commissioning a report.
Structural inspection in Melbourne operates under the Victorian Building Authority's licensing framework. Building inspectors in Victoria must hold a domestic building inspector licence. Victoria also has specific requirements under the Domestic Building Contracts Act 1995 that affect how defect disputes are handled, including mandatory conciliation through Domestic Building Dispute Resolution Victoria before certain claims can proceed to VCAT.
Buyers purchasing interstate should verify their inspector's credentials against the relevant state authority, not simply rely on a national professional membership.
Awesim Building Consultants is a building consultancy that provides pre-purchase inspections, defect reports, and Expert Witness Reports across NSW from offices in Sydney, Tamworth, and Tweed Heads.
What to Do When a Structural Inspection Uncovers Defects
Finding defects does not mean the purchase is over. It means you have information, and information is negotiating power. Work through the following steps in sequence.
Get the defects in writing before you act. A verbal summary from an inspector is not enough. You need a written report that identifies each defect, describes its location, and gives an indication of its severity. Without that, any negotiation you enter is based on impressions rather than documented evidence.
Obtain independent repair quotes. Contact licensed tradespeople or a building consultant to scope the rectification works and put a cost to them. Research from Houzeo indicates that identifying major flaws through a pre-purchase inspection can save buyers an average of $14,000 in repair costs. That saving only materialises if you quantify the defects before you exchange.
Negotiate a price reduction or require rectification before settlement. Present the report and the repair quotes to the vendor. You can request that defects be rectified before settlement, seek a reduction in the purchase price to cover rectification, or, if the defects are severe enough, withdraw from the contract within the cooling-off period.
Commission a Phase 2 investigation if Phase 1 findings are inconclusive. Where the inspector has flagged a concern but cannot confirm its extent without opening surfaces, a targeted destructive investigation may be warranted before you commit.
Seek independent expert advice for complex or disputed defects. If the vendor disputes the findings, or if the defects are significant enough to affect the building's structural integrity, an independent expert report prepared to the relevant evidentiary standard gives you a defensible basis for further action. Awesim Building Consultants prepares Expert Witness Reports and forensic inspection reports for use in NSW dispute proceedings, including NCAT and the District Court.
FAQs
What are the four types of inspection used in construction?
Pre-purchase inspections generally fall into four categories: visual inspection, non-destructive testing, destructive testing, and special inspections. A visual inspection assesses accessible surfaces. Non-destructive testing uses tools such as moisture meters or thermal cameras without opening surfaces. Destructive testing opens wall cavities or lifts floor coverings to confirm concealed conditions. Special inspections are carried out by qualified specialists to verify compliance with specific structural or material requirements.
How much does a structural building inspection cost in Australia?
Fees depend on the property's size, age, location, and the scope of work. Contact a licensed inspector directly for a scope-specific fee estimate, as costs vary between a standard pre-purchase report and a specialist expert witness report.
Can a buyer request a Phase 2 destructive test before purchase?
Yes, but the vendor's consent is required. Most standard contracts of sale do not give a buyer the right to open surfaces or remove materials without the vendor's agreement. In practice, vendors are often reluctant to permit destructive testing before exchange. The more common approach is to negotiate a price reduction or a defect rectification clause based on Phase 1 findings, and reserve Phase 2 for post-settlement investigation where the defect scope remains unclear.
How long does a structural inspection typically take?
A Phase 1 visual inspection of a standard residential property usually takes between one and three hours on site, depending on the property's size, age, and accessibility. Older homes with subfloor spaces, complex roof structures, or significant defect history take longer. Report preparation typically adds one to two business days. Phase 2 investigations take longer, as they involve coordinating with tradespeople to open and make good the surfaces examined.
What qualifications should a structural inspector hold in Australia?
Requirements vary by state. In NSW, inspectors must hold a contractor licence or building consultant's licence issued by NSW Fair Trading. In Western Australia, inspectors must hold a current building inspector registration with the Building and Energy division. In Victoria, a domestic building inspector licence issued by the Victorian Building Authority is required. For reports intended for use in formal legal or tribunal proceedings, the inspector must also meet the expert evidence requirements of the relevant court or tribunal rules. Always verify an inspector's current licence with the relevant state authority before commissioning a report.
Conclusion
A structural inspection is the most direct way to find out what a property is actually worth before you commit to buying it. It gives you documented evidence of the building's condition, a basis for negotiation, and early warning of defects that would otherwise surface after settlement at your expense.
Before you exchange contracts, commission a Phase 1 inspection from a licensed inspector with the appropriate state credentials. If the report flags concerns that cannot be fully assessed visually, pursue Phase 2 testing or independent expert advice before proceeding. Get defects documented in writing and act on the findings before you exchange.

Related Posts

Inspection of Structures: What to Check Before You Buy
An inspection of structures examines a property's load-bearing elements, including foundations, walls, beams, roof framing, and floor systems, to identify
Read More »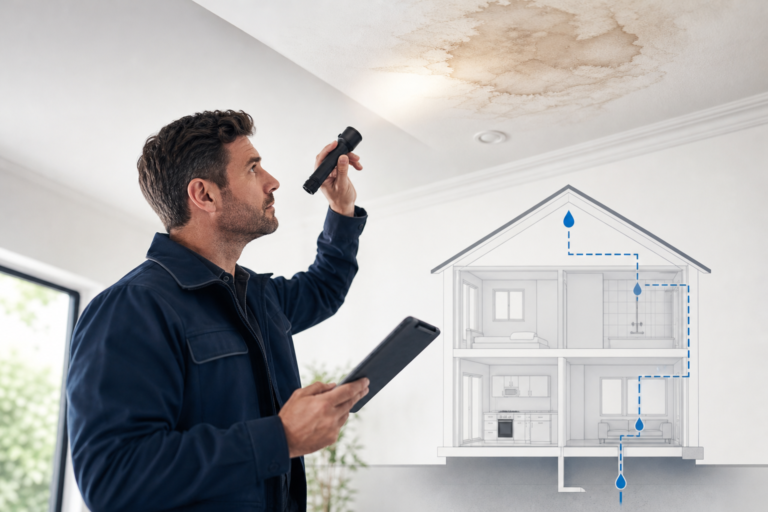
Water Damage in Homes: How to Track Down the Source
Water damage in a home rarely announces itself at the source. A stain on the ceiling, a musty smell in
Read More »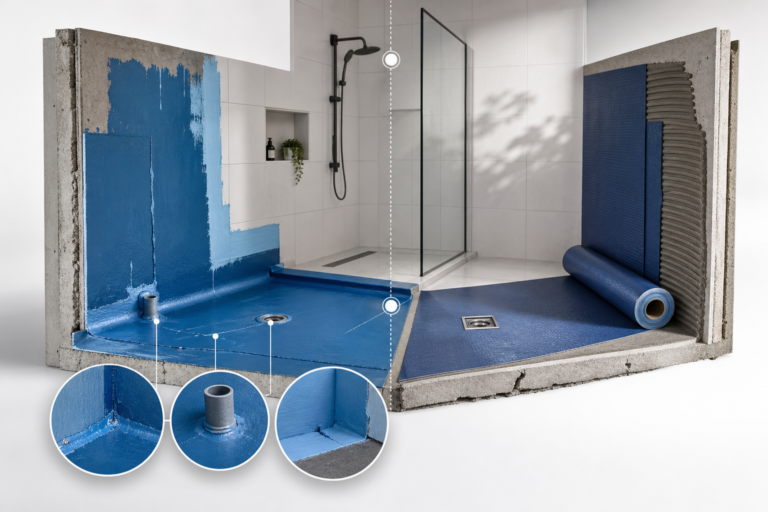
Waterproofing Membrane Types: Which Fails Most in NSW Bathrooms
Waterproofing failure is the single most common serious defect found in NSW apartments, and the type of membrane used, along
Read More »