
Thermal Imaging Leak Detection in NSW: A Practical Guide
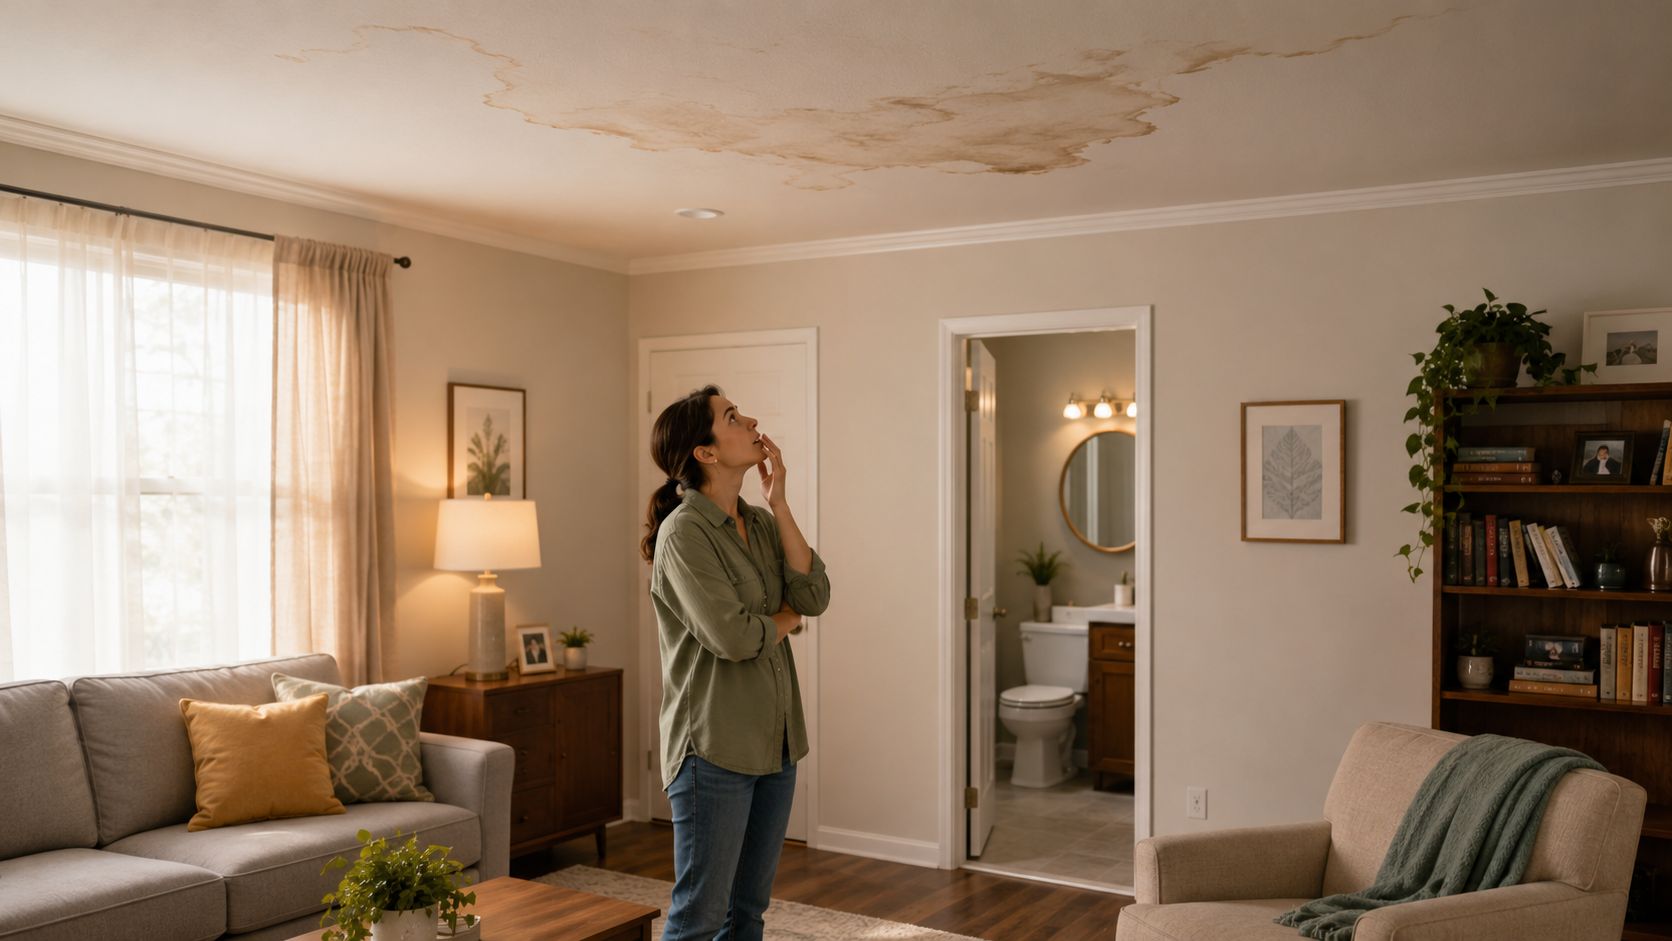
You're probably looking at a stain, a damp skirting board, or a bathroom that smells wrong even though the tiles look fine. That's the point where most owners start wondering whether they need a plumber, a builder, or a destructive opening of the wall. In NSW homes and strata units, that decision matters because concealed plumbing, slab-on-ground construction, and finished wet areas can hide the underlying source of a leak until the wrong surface gets cut up.
Thermal imaging leak detection helps narrow the problem before anyone starts ripping out finishes. Used properly, it gives a consultant a non-invasive way to look for temperature patterns linked to moisture, then confirm those patterns with direct testing. Used badly, it turns into a glossy camera exercise that proves very little.
If you want a plain-language overview of how property owners usually approach leak tracing, leak detection advice from EZ Plumbing is a useful companion read. For NSW defect disputes, the key question is different, though. The issue isn't just finding water, it's proving what the thermal anomaly means before anyone talks about a repair scope.
A practical outline of the dispute side is also laid out in how to prove building defects in NSW disputes, which is where a lot of homeowners end up after the first round of guesswork fails.
Why Hidden Leaks Are Hard to Pin Down
A homeowner rings up after a brown patch appears on the downstairs ceiling. The bathroom above looks clean, the vanity is dry, and no one wants to open tiled walls on speculation. That's a familiar NSW scenario, and it's exactly why a screening tool matters before anyone starts making holes.
Hidden leaks are hard because the visible damage usually shows up away from the actual source. Water can travel along framing, insulation, slab edges, or services chases, then surface somewhere that looks unrelated. In strata, that gets more tangled because the damage might sit between lots, behind a common wall, or under a finished wet area where direct inspection is poor value unless there's already a strong reason.
Why direct inspection often comes too late
Once a bathroom is fully tiled or a pipe is buried in a wall chase, direct inspection becomes invasive by default. A homeowner is left choosing between living with the stain and opening finishes on a hunch. Thermal imaging sits in the middle of that choice, because it can screen surfaces first and help decide whether the anomaly is worth exposing.
Practical rule: if the finish is expensive to remove, start with a non-invasive screen, then confirm with moisture testing before you cut anything.
That's where the method matters more than the camera brand. Thermal imaging leak detection doesn't prove a defect by itself, but it can show where the building is behaving differently enough to justify closer work. For NSW owners dealing with slab-on-ground homes, concealed pipework, shower recesses, or strata common property, that often saves time and avoids unnecessary demolition.
A careful consultant will still treat the camera as one piece of the puzzle. The image shows a pattern, not a verdict. The verdict comes later, after the pattern is checked against the material, the building history, and the moisture readings.
How a Thermal Camera Actually Finds Moisture
A thermal camera doesn't see water the way your eye sees a puddle. It reads surface temperature, so it's watching how a wall, ceiling, or slab is behaving at the skin level. That's why wet material can stand out, even when the leak itself is hidden.
The basic physics in plain language
Water changes heat movement in two main ways. First, it has a high heat capacity, so damp material often warms and cools more slowly than dry material. Second, evaporation pulls heat away from the surface, which can leave a patch looking cooler on the thermal image. That's why a leak may show as a cool area during daytime heating, or as a slower-to-cool zone after conditions change.
The camera is reading contrast, not liquid. If the surrounding surface is stable and the damp zone behaves differently, the difference shows up. If the wall is sun-warmed, shiny, freshly painted, or affected by airflow, the contrast can shift or disappear, which is why the operator's judgement matters as much as the hardware.
The technical research backs that practical reality. In one tested network model, underground leakage was detected down to 750 mm depth with 95.20% accuracy, while infrared cameras reached 66.57% to 100% accuracy under different moisture conditions, and IR cameras and ground-penetrating radar performed best at 2% and 5% moisture content (CDU research PDF). That doesn't mean every home inspection is that clean, but it does show why thermal imaging can be technically meaningful when the setup is controlled.
Why the setup changes the result
Distance to the target, temperature contrast, and recent solar loading all change what the camera sees. A closer camera-to-leak distance generally improves localisation accuracy, and a separate infrared study reported that shorter distances improved performance while leaks were localised in both laboratory and industrial environments with accuracies mostly higher than 0.7 (KIT research). The same logic applies on a real site. If the wall has been baked by sun, the thermal picture can be distorted. If the leak is too old or the temperature difference is weak, the signal can flatten out.
For homeowners who like to tinker, an infrared camera for enthusiasts might be interesting, but professional work is about repeatable method, not just having a lens that shows colours.
The useful takeaway is simple. Thermal imaging leak detection reads heat behaviour, then uses that behaviour to identify a suspicious zone. It doesn't see through walls, and it doesn't tell you the leak source on its own. It tells you where the evidence is worth chasing.
Where Thermal Imaging Works Best in Homes and Strata
Thermal screening earns its keep where the building hides the source and the finish is worth protecting. In NSW homes, that usually means showers, bathroom walls, balconies, planter boxes, roof planes, ceiling spaces, slab edges, and concealed pipework in wall chases. In strata, the same logic applies, but the decision-making often includes common property, access approvals, and the need to document the path of the moisture rather than just the stain.
Good targets and difficult targets
A shower enclosure is a classic candidate because the leak often appears away from the failure point. A thermal scan can highlight a damp strip behind plasterboard or along a junction, but it still won't prove whether the problem is grout, waterproofing, or a pipe. A bathroom wall can also show a shaped thermal anomaly after water has migrated through the assembly, which helps narrow the search before any opening.
Balconies and roof planes can be more confusing. A thermal pattern may point to moisture movement, but membrane failures under tiles are still notoriously hard to confirm from surface imagery alone. Slab leaks and concealed pipework are often more useful for thermal screening because the temperature difference can follow the service path or the wetted zone, especially where direct inspection is impractical.
A camera can point to the problem area. It can't replace judgement about what building element is actually failing.
That's where method and sequencing matter. In a slab-on-ground house, you may never get a clean look under the slab without indirect evidence first. In a strata unit, you may need to distinguish between a defect in a lot, a common service, or a condensation issue before any claim is framed. Thermal imaging helps sort those possibilities, but only if the consultant reads the building as a system, not just a surface map.
A Monash University study on buried reticulation pipes found that passive infrared thermography clearly identified 59% of leaks, while another 22% of sites showed notable but inconclusive thermal signatures (Monash research). That middle category matters in practice because not every hot or cold patch is a confirmed defect. Some are leads, not conclusions.
Limitations and False Positives You Need to Know
A good thermal image can still be misleading if the conditions are wrong. That's why professional inspections don't just point the camera at a wall and trust the colors. They control the timing, the angle, and the environment, then test whether the anomaly behaves like moisture.
What can distort the image
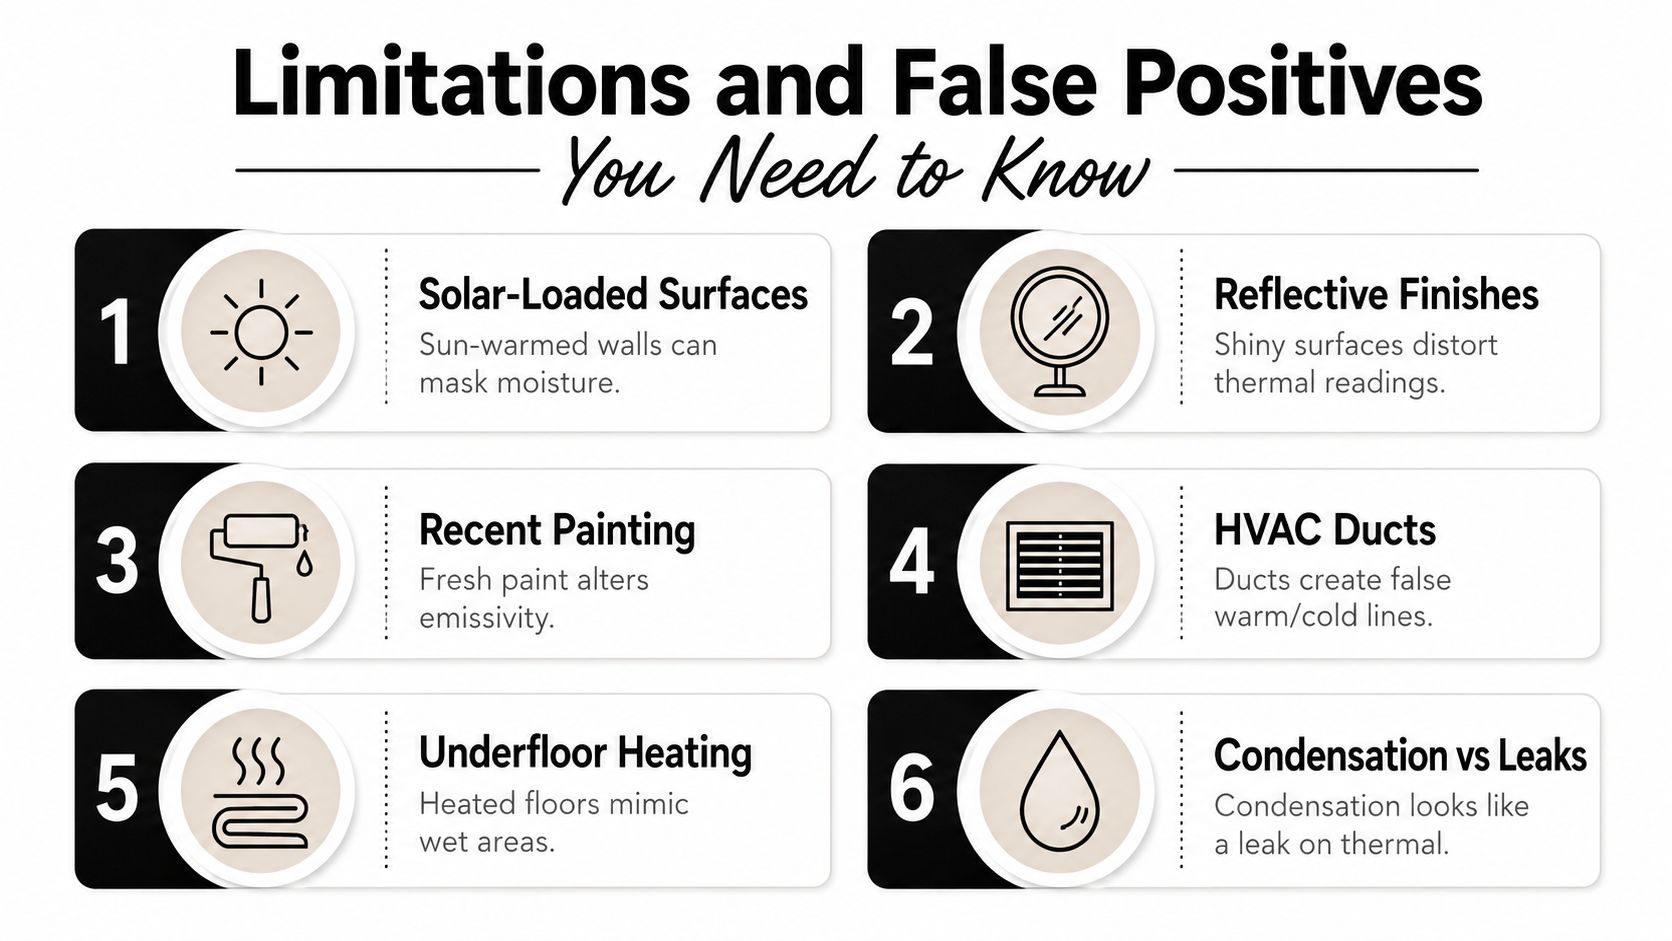
Solar-loaded surfaces can look warm or uneven long after direct sun has moved on. Reflective finishes can distort the reading because shiny surfaces don't behave like a plain painted wall. Recent painting can change emissivity and make the surface read oddly. HVAC ducts can create lines that look like moisture paths, underfloor heating can mimic wet zones, and condensation can look almost identical to a leak if you don't know the building's behaviour that day.
The problem isn't that the camera is broken. The problem is that the surface is telling a different story than the inspector expects. A single thermogram taken at the wrong time of day can be worse than no image at all, because it tempts people into a false conclusion.
Why confirmation matters
The NSW building-defect context makes this even more important. Wet plasterboard, insulation, and masonry can look cooler or warmer depending on ambient conditions and leak timing, so the camera is showing temperature differentials, not ownership of the problem. That's why the anomaly should be confirmed with a moisture meter before anyone says the surface is wet from a defect rather than from condensation or another source.
A 2024 field study on levee seepage found that infrared thermal imaging identified leak points more clearly at night than in daylight, while daytime performance was less effective than visible-light inspection. It also reported a camera NETD of less than 50 mK, meaning it could detect temperature differences as small as 0.05 °C, and detection accuracy changed with the drone's altitude above the target (Scientific Reports study). The lesson is not that every inspection needs a drone. The lesson is that environmental control changes everything.
If an inspector ignores those variables, the result can look authoritative while missing the actual source. That's why a bad thermal inspection can mislead an owner into the wrong repair, the wrong dispute position, or the wrong insurance conversation.
What Happens During a Professional Thermal Inspection
A proper inspection starts before anyone arrives on site. The consultant asks where the stain appeared, whether plumbing fixtures have been used recently, whether the area has had sun exposure, and whether there's access to adjacent rooms, roof space, or common property. That pre-visit information helps decide whether thermal imaging will be useful on that day or whether another method should lead.
The on-site workflow
The inspection usually begins with a visual walk-through, then a thermal scan of the suspicious areas and the surrounding surfaces. A handheld thermal camera picks up the temperature pattern, while a calibrated moisture meter checks whether the anomaly corresponds with increased moisture. Hygrometers can help document the indoor environment when condensation is a possible explanation. If needed, the consultant returns to the same area after a period of thermal stress or changing conditions to see whether the pattern strengthens or fades.
That re-reading matters. A static image can be ambiguous, but a thermal anomaly that persists, grows, or matches the moisture reading is more useful. The field method is similar to what the technical literature shows in controlled environments, where setup conditions and distance change the result rather than the camera alone.
A good report then ties the images to the observations. Expect annotated photographs, thermograms, notes about environmental conditions, and a defect summary that explains what was seen and what was confirmed. If the job sits inside a broader dispute, the consultant may also align the findings with the way the issue will later be expressed in a Scott Schedule or an Expert Witness Report, which is why the wording has to stay factual.
For readers who want to see how that broader forensic work fits into building disputes, forensic waterproofing inspection in NSW explains the kind of evidence trail that often sits beside thermal results.
If you're comparing providers, thermographic inspection services can be a useful reference point for the kind of equipment and reporting language you should expect.
Common Findings in Real NSW Inspections
The jobs that matter most are the ones where the thermal image narrows the search, then a moisture meter confirms whether the pattern is real. A common example is a failed shower waterproofing claim that first appears as a stain on a bedroom wall beside the ensuite. The bathroom can look normal at first glance, yet a thermal scan may show a cooler band on the adjacent wall where moisture has moved through the lining. Moisture meter readings then confirm the area has raised moisture content, and that becomes the basis for a defect note focused on the wall assembly rather than the ceiling stain alone.
Another common pattern is a concealed downpipe leak wetting a party wall in a strata building. The thermal image may show a vertical strip that follows the pipe route or a damp spread at a junction, while adjacent dry areas remain stable. In that kind of job, the scan helps separate a services issue from a broader waterproofing complaint, which is the distinction an owners corporation or builder needs before repair quotes are sought.
What the findings usually mean
Balcony slab edges often show thermal bridging patterns that can be mistaken for moisture if the inspector is not careful. A skilled reader looks for shape, repetition, and correspondence with building elements, then tests the suspicious area rather than assuming every cool line is a leak. Ceiling stains from upper-floor bath overruns can also show a thermal patch that is broader than the visible stain, because the water has moved through the ceiling assembly before showing at the surface.
HVAC condensate is a frequent misread. A roof leak and a condensation issue can both create damp-looking anomalies, but the source is different, and the repair approach is different too. That is why the report has to say what was seen, what was tested, and what remains unconfirmed.
The same principle applies when discussing cost. A thermal inspection's price is shaped by property size, the number of wet areas, access difficulty, and the depth of reporting required. A stand-alone screen is different from a wider building-defect investigation, because the latter usually takes longer, needs more documentation, and may need follow-up access. For many owners, the spend makes sense because it helps avoid opening the wrong wall or paying for a repair scope that does not match the defect.
| Typical cost and ROI considerations for thermal leak inspections | ||
|---|---|---|
| Inspection factor | What it changes | Why it matters |
| Property size | More rooms and surfaces to scan | Larger homes and strata lots need more time on site |
| Number of wet areas | More suspect zones to compare | Bathrooms, balconies, laundries, and roof spaces add complexity |
| Accessibility | Roof space, ceiling voids, common property access | Hard access can limit what the camera can verify |
| Reporting depth | More photos, notes, and defect detail | Detailed reporting is more useful for claims and tenders |
| Stand-alone or combined job | Screen only, or part of a broader defect investigation | Combined work often gives a better evidence trail |
| Confirmation testing | Moisture meter follow-up and re-checks | Improves confidence before any invasive opening |
Insurance and strata committees also care about this stage because a well-documented report can support a claim or help scope the works tender. In some cases, thermal imaging is the difference between a vague complaint and a repairable, itemised defect list.
Using Thermal Evidence in NCAT and Expert Witness Reports
Thermal images carry weight in NSW disputes when they are tied to a method, not just a picture. In NCAT work, that usually means the thermogram sits beside moisture-meter readings, photographs, and written observations that explain why the temperature pattern matters. The report has to show how the inspection was done, what conditions were present, and where the anomaly was confirmed.
How the evidence gets used
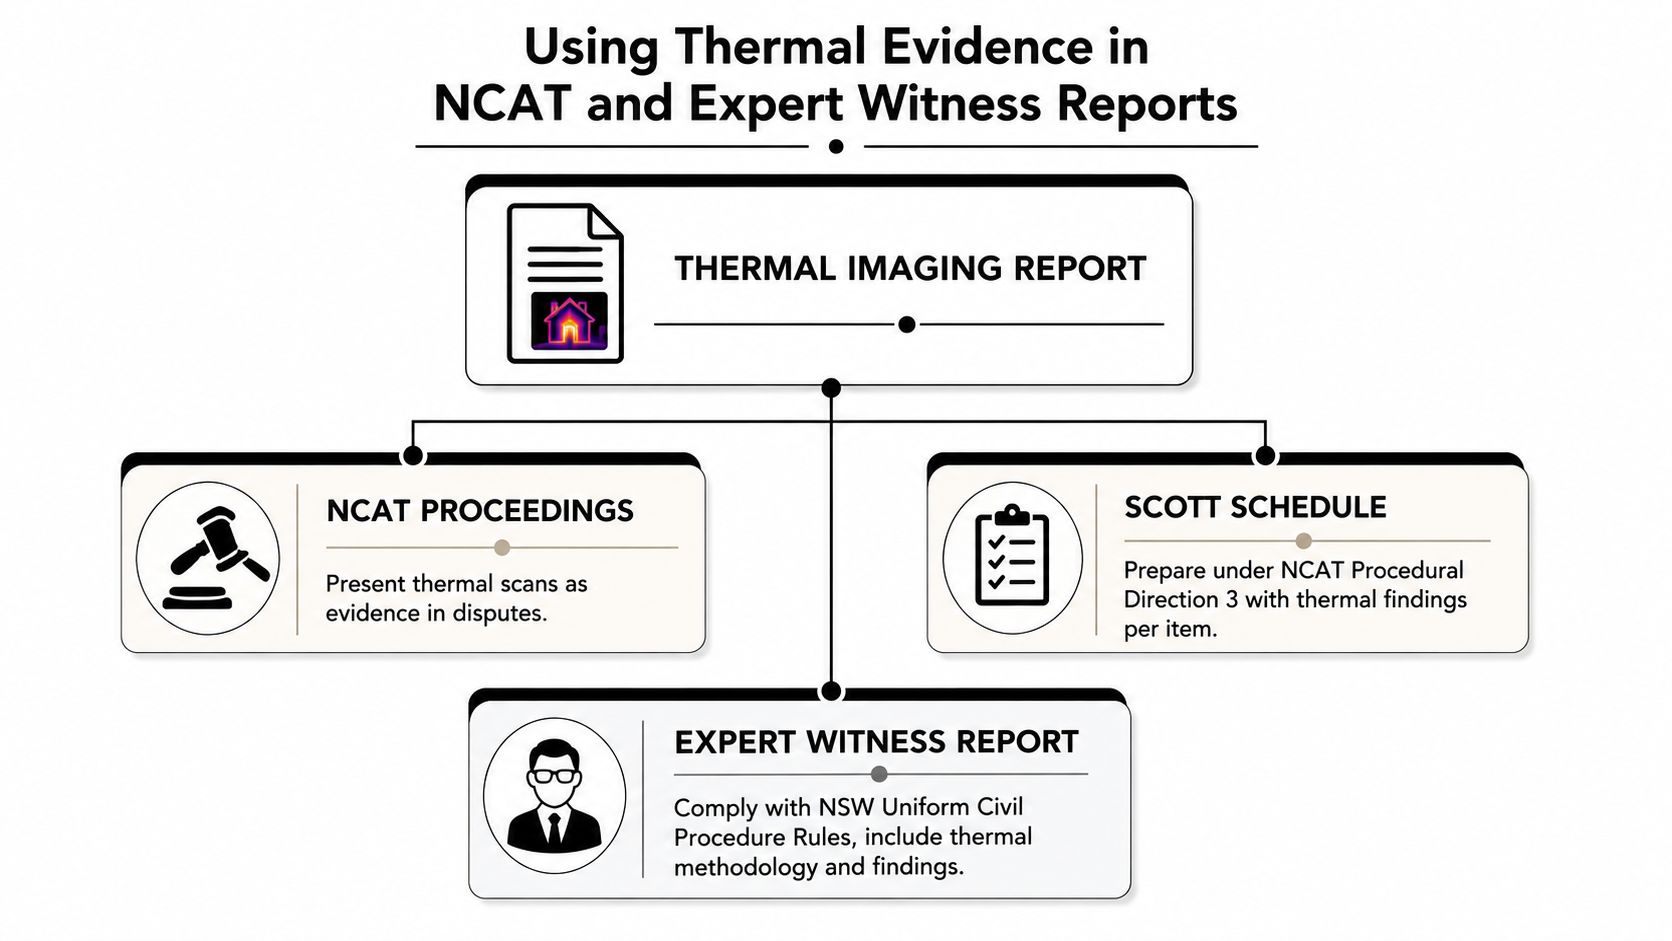
A Scott Schedule under NCAT Procedural Direction 3 lets each defect item be set out clearly, and thermal findings can sit beside each item as supporting evidence. An Expert Witness Report then expands on the methodology, the environmental conditions, and the inspection findings in a form that can be tested by the other side. That's where the detail matters. If the camera was used after solar loading, if the room was humid, or if the area had just been exposed to water use, those facts should be in the file.
The point is not to oversell the image. It's to make the image traceable. A decision maker can only give proper weight to evidence that shows how the conclusion was reached.
For a deeper look at that reporting framework, expert witness report for construction disputes explains the structure that tends to matter in NCAT-adjacent work. That's the right place for thermal findings when the issue has moved beyond household troubleshooting and into a formal defect process.
A report that records calibration notes, environmental conditions, and moisture confirmation usually has more practical value than a single dramatic image. In many disputes, that's what helps move the matter toward early settlement, because the parties can see the defect trail instead of arguing over a stain.
Practical Checklist and Next Steps for NSW Owners
If you're booking a thermal inspection, ask three things before you confirm the visit. First, what thermal camera and moisture meter will be used. Second, how the inspector confirms a thermal anomaly before calling it a defect. Third, what the report will include, because a few photos without annotation won't help much if the matter ends up in a dispute.
What to have ready
- Access details: Tell the inspector which rooms, roof spaces, and common areas can be reached.
- Timing clues: Note when the stain first appeared, when fixtures were last used, and whether the area gets morning or afternoon sun.
- Past repairs: Give the consultant any previous waterproofing, plumbing, or painting history.
- Symptoms: Share smells, visible staining, soft plaster, or recurring dampness, even if the area looks dry today.
Good evidence starts with good site notes. If you can describe when the problem appears and what changes before it appears, you help the inspector separate moisture from noise.
Thermal imaging leak detection is worth doing sooner when the finish is expensive, the defect is recurring, or the issue may affect insurance, strata liability, or a scope of works tender. It's also worth doing early when you need NCAT-grade evidence, because the report is stronger when the site is still in its original condition. Homeowners, builders, strata managers, solicitors, and loss adjusters all benefit from the same principle, the evidence should be gathered before the building gets altered.
Awesim Building Consultants assists with site investigations, Building & Construction Expert Witness Reports, and Scott Schedules for NSW property owners, builders, and lawyers. If you need a thermal screen tied to moisture-meter validation and formal defect reporting, visit Awesim Building Consultants to arrange an inspection, or contact admin@awesim.com.au and 1800 293 746 for next steps.
If your ceiling stain, bathroom leak, or strata defect needs more than a guess, Awesim Building Consultants can inspect the site, test the moisture properly, and document the findings for dispute work. Their approach fits the way NSW building evidence needs to be handled, with thermal imaging as a screening tool, not a shortcut. Visit Awesim Building Consultants to discuss an inspection, report, or Scott Schedule for your matter.

Related Posts
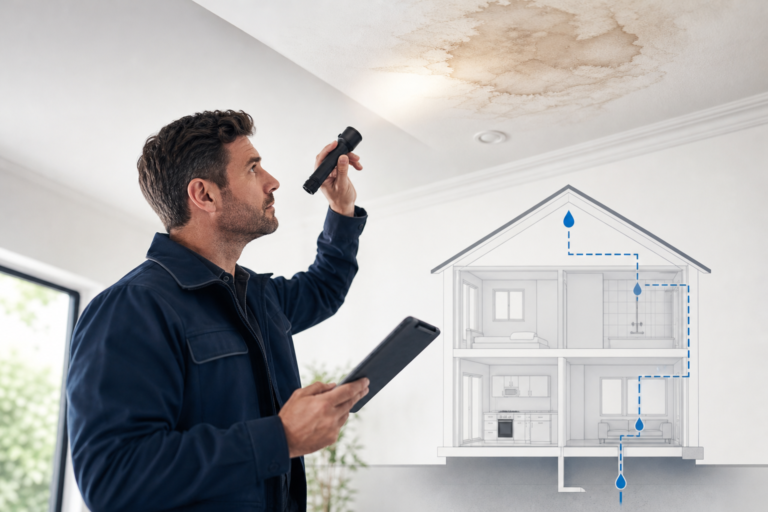
Water Damage in Homes: How to Track Down the Source
Water damage in a home rarely announces itself at the source. A stain on the ceiling, a musty smell in
Read More »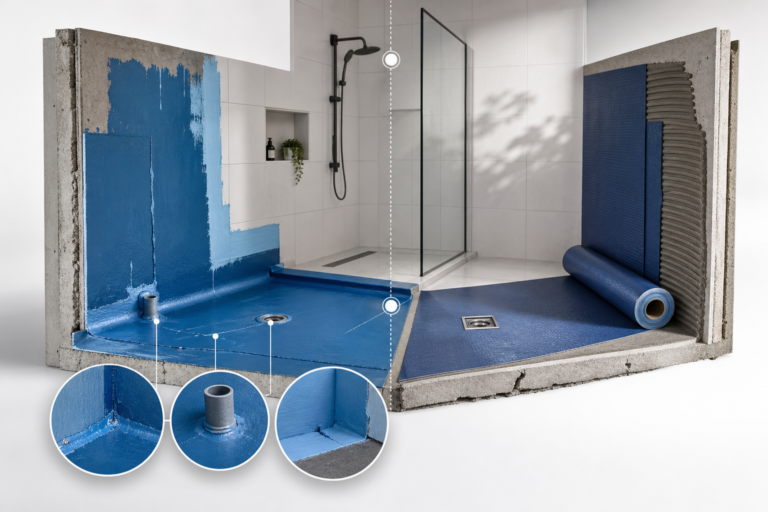
Waterproofing Membrane Types: Which Fails Most in NSW Bathrooms
Waterproofing failure is the single most common serious defect found in NSW apartments, and the type of membrane used, along
Read More »
Building Certifier NSW: Role, Limits, and When You Need More
A building certifier in NSW is a registered professional who issues construction certificates, conducts critical stage inspections, and grants occupation
Read More »